


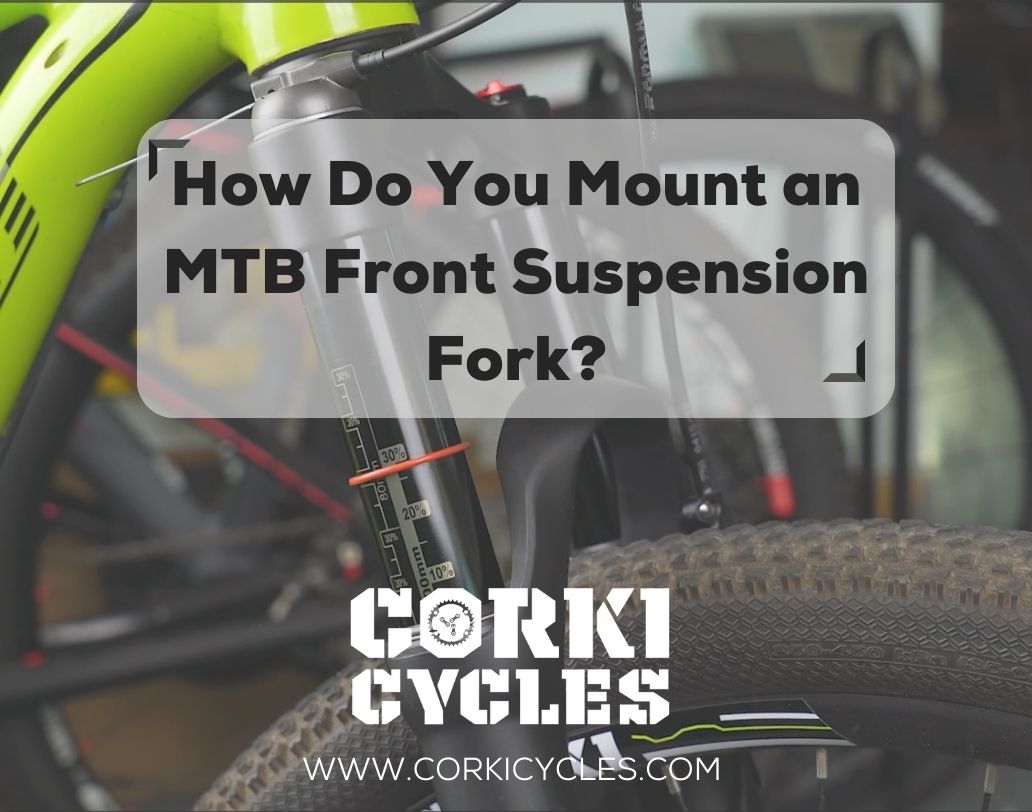
How Do You Mount an MTB Front Suspension Fork? Quick and Easy Guide
Front suspension fork installation is a professional task and needs many tools. Even seasoned riders might find the removal and installation intimidating. If things were to go wrong, it would result in a hefty repair bill or a whole new fork. But fear not! In this quick and easy guide, we'll walk you through installing an MTB front suspension fork with confidence. Get ready for smoother rides and exhilarating cycling escapades ahead
Let’s start!
Step 1:Prepare the installation tools
Before you replace the front suspension fork, you will have to prepare the tools needed to help you get the job done.
- Bike repair stand
- Allen Keys
- Soft face hammer
- A fork crown race installation tool
- Grease
- File
- Hacksaw or Pipe Cutter

Step 2: Remove the front wheel
Before proceeding, it's crucial to ensure the stability of your bike frame by securely placing it on a reliable bike repair stand.
Begin by removing the front wheel from your mountain bike. To accomplish this, follow these steps for a seamless process:
Start by loosening the bolts securing the thru-axle or gently untighten the quick-release handle. Once these bolts or the QR handle have been successfully loosened, carefully lift the wheel out of the frame.
Next carefully undoing the mounting bolts of the brake caliper and releasing the cable guide. You can leave them to dangle down while ensuring it doesn’t hit anything.

Step 3: Remove the old fork
Alright, friends, it's time to say goodbye to that old front suspension fork and make room for the shiny new one! Now, here's what you need to do:
Cutting the Cable (Only for Remote Lockout Forks): If your bike has a remote lockout fork, grab a pliers and snip the cable gently. Then, give that screw a twist and carefully pull out the cable. But hang on, if you don't have this remote lockout fork, feel free to skip this step and move on.
Next, loosen the stem bolts and handlebar clamp: allowing the handlebars to move freely. Once you've taken off the clamp bolts on both sides of the stem, grab your trusty Allen Keys. Slowly start turning them to undo the top cap. Hold onto the fork while you do this so it doesn't decide to take a leap of faith.

Take out the old fork: As soon as you undo the top cap, your fork will want to fall out of the frame. Be ready! Then, remove the tube spacer under the stem. Slide the top plate of the headset upward. Now, you'll want to take off the spacer, compression ring, washer, and top-bearing. Keep these parts in a safe spot for later - we'll need them. Last but not least, give everything a good cleaning and a generous helping of grease for smooth sailing.
There you go! With these steps, you'll be waving goodbye to that old fork like a pro!
Step 4: Measure the length of the fork
With the old front fork removed you need to measure the steerer tube length to match the new one. After that, measure the fork length according to what you need. Next, you can use a marker to mark the length of the fork steerer tube. And cut the steerer tube to the appropriate length for your bike using a tube cutter. Please remember to double-check the measurement before actually cutting the fork. Then use a file to clean and smooth the edges of the steerer tube.

Step 5: Install the new fork
Now, it's time to install your shiny new fork. But before you dive in, there's a crucial step to tackle – inserting the star nut into the steerer tube. This can be a bit tricky, so we recommend using a star nut setting tool for the smoothest experience. Here's a step-by-step breakdown:
How to install the star nut?
Begin by securely screwing the star nut onto the setting tool. Think of this as gearing up for the main event. Now, align the star nut precisely with the steering tube. Getting this right is essential to prevent headaches later on. With everything aligned, gently tap the star nut into place, ensuring it's set in at least 5mm within the tube. Some tools come with a built-in stop, which makes positioning the nut a breeze. At Corki Cycles our suspension forks have this!

How to install the new fork?
With the star nut successfully in place, it's time to move forward with these key steps:
First, install the lower-bearing. If these bearings and seals are damaged on your headset, you should replace them a new ones. Afetr ensuring good quality bearings install the upper bearing and compression ring, ensuring the compression ring's flat side faces upward. After that, put on the top cap of the tube. If you plan on using spacers beneath the stem, add them now before installing the stem. You should end up with about 2–3 mm of space. Finally, replace the top cap and stem bolt to complete the installation.
Step 6: Reinstall the front wheel
Now the hard work has been done, it’s time to install your front wheel to the bike. But first you need to addf the brake caliper to the fork mount. This is fairly simple but if the mount is not even it requires a specific tool to level. This is essential for efficient braking. if needed head to a local bike shop. They will have this expensive tool.
Position the front wheel between the fork dropouts – these are the slots where the wheel fits into the frame. Ensure that the wheel is centered, and if you have disc brakes, make sure the rotor lines up with the brake caliper. If you're using a quick-release lever, close it with enough force to secure the wheel in place, but avoid over-tightening, which can restrict wheel movement. For bikes with thru-axles, use the wrench to secure it to the manufacturer's specified torque. At this point check again the brake caliper's position with the disc rotor. Finally, bolt the hose guide and brake hose onto the new fork.
Step 7: Adjust and test the fork
Now it’s finally time to see if the fork is functioning correctly. First, you need to see if the handlebar is straight. Grab the front brake and gently rock the bike back. Then, listen and feel for any unusual clunking sounds. If you hear a clunking sound, or it is q little wobbly it may indicate insufficient pre-load on the stem top cap, or space between bearings.

In this case, you'll need to slightly loosen the two stem bolts and give the top cap bolt a half-turn. Keep repeating this process until the clunking sound disappears. For other details adjustment, you can read our related article: How Do I Adjust My Front Fork Suspension Quickly? In this article, you can find out all about how to adjust the bike fork.
Furthermore, make more tests and adjustments on the fork until you are satisfied with its performance. Note: Please do not forget to invest time in keeping your fork well-serviced by maintaining it regularly. Changing oil frequently will not only boost your mechanical skills but also leave you with silky smooth forks.
How Do You Mount an MTB Front Suspension Fork: FAQs
1. Are bike front forks universal?
No, all bikes have different types of steerer tube, wheel size compatibility, brake mounts, and other components. Therefore, all bike forks are unique and rarely fit all bicycles.
2. How do you measure a bike fork?
It is usually measured in a direct line from the fork crown to the axle.
3. How often do you need to replace bike forks?
A well-maintained and properly serviced fork can last 3-5 years, but ultimately, the decision to replace it depends on your judgment and the specific circumstances.
Summary - How to Mount an MTB Front Suspension Fork
- Before you begin, gather essential tools such as Allen keys, a fork crown installation tool, a file, and a pipe cutter. These tools are crucial for replacing your front fork effectively.
- Then, remove the front wheel from the bike fork. You would better put the bicycle on the bike repair stand to finish this process.
- Next is to remove the old fork from the frame. Start by removing the two bolts that secure the caliper onto the fork. Then, remove the brake hose. Afterward, remove the spacers and top crown race from the old fork. Finally, put this fork aside.
- Measure the length of the old fork and use a mark to determine the proper length for the new fork. With the mark as your guide, cut the new fork to the correct length using a pipe cutter.
- It's now time to install the new front fork. Begin by screwing the star nut onto the nut setting tool and aligning it with the steering tube. Once the star nut is securely installed, proceed to install the lower bearing race.
- Reinstall the front wheel. Follow the steps to remove the wheel, and then proceed to reinstall it in the same manner.
- Lastly, adjust and test the fork's performance. Align the wheel with the stem and handlebars to achieve optimal alignment.
Conclusion
Installing a fork may seem daunting. But with the right tools and our step-by-step guide, it's a manageable task and can make a significant difference in your riding experience. By upgrading your front suspension fork, you'll be able to ride smoother on rough terrain. So enjoy your mountain biking adventures to the fullest!
If you have any comments or questions, please don't hesitate to leave them in the comment section below. Happy riding!
Suspension Related Articles
Everything You Need to Know About Front Suspension Forks
How Do I Adjust My Front Fork Suspension Quickly?
Mastering Mountain Bike Fork Maintenance: Expert Tips for Peak Performance