


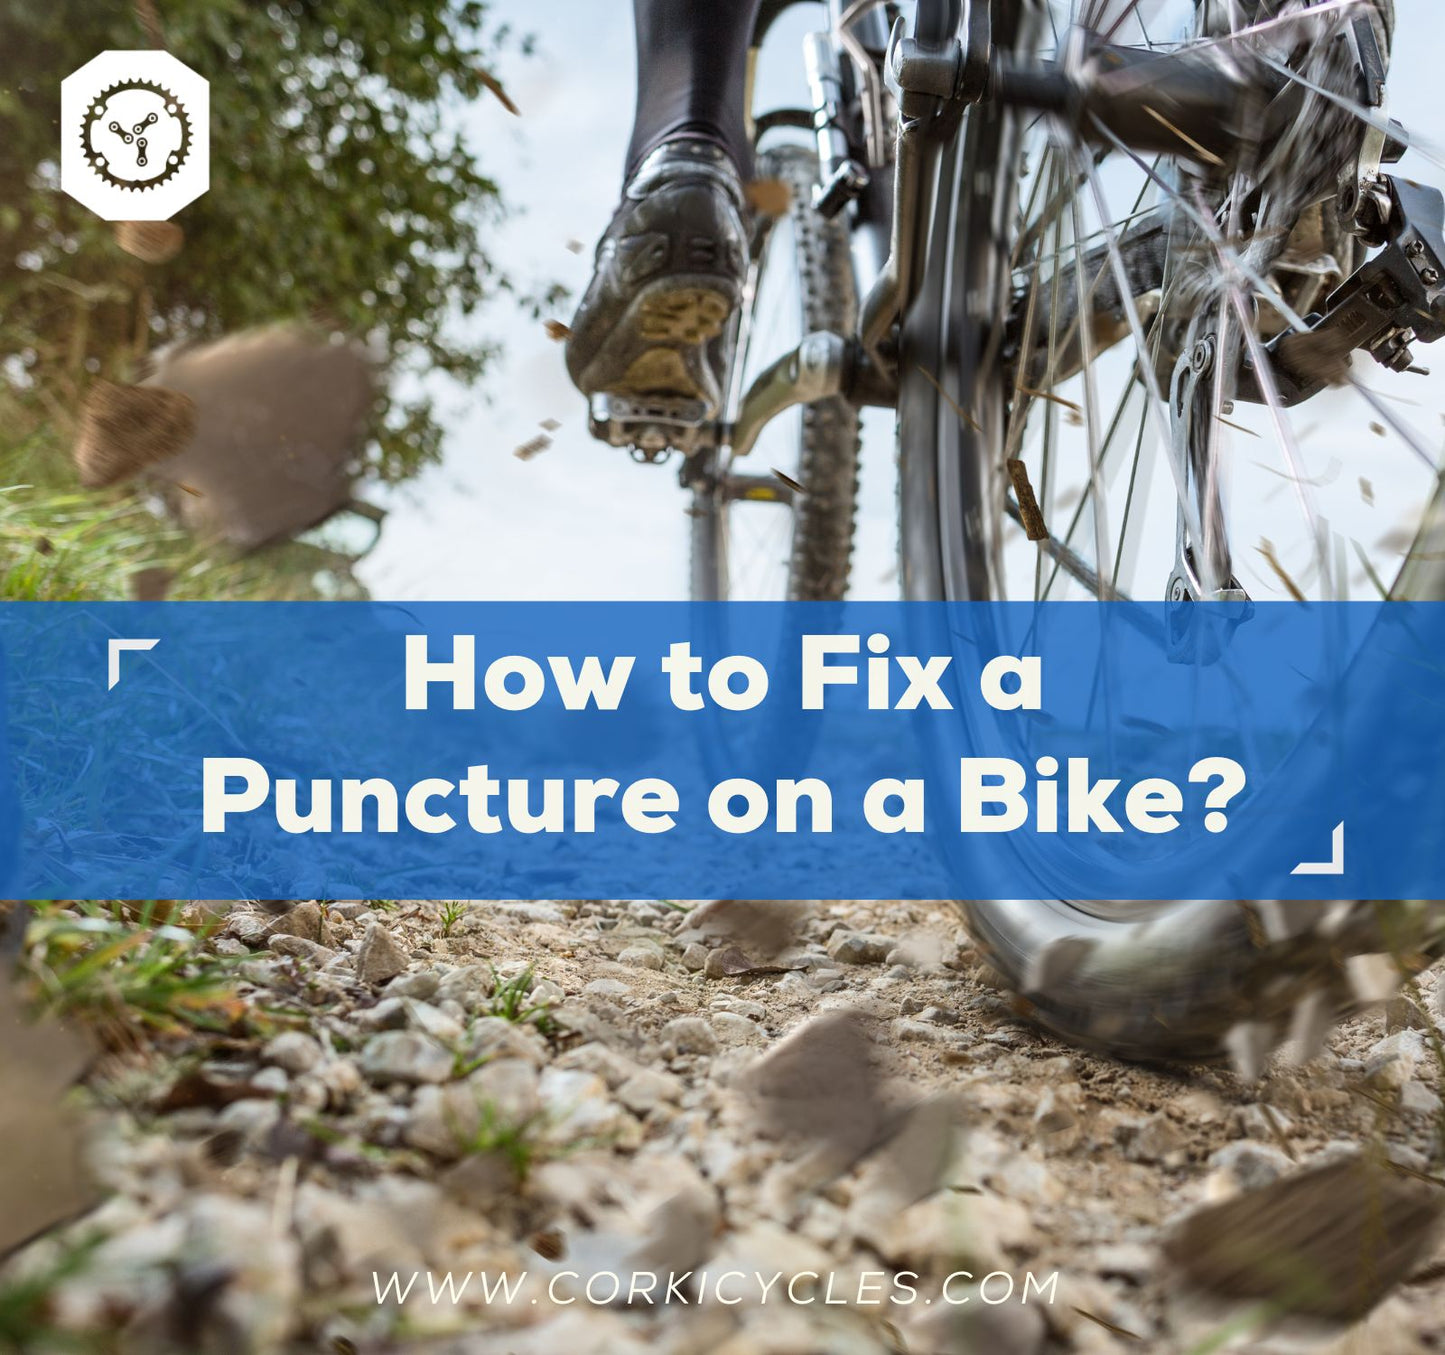
How to Fix a Puncture on a Bike?
Hello, fellow riders! Today's guide will help you tackle one of the biggest challenges for cyclists: punctures.
If you've ever found yourself stranded on the side of the road with a flat tire, you know just how frustrating it can be. Whether you're new to cycling or a seasoned pro, learning to fix a puncture is a must-have skill that can save you time and hassle. And we'll explore the following topic in detail:
- How to fix a puncture at home?
- How to fix a punctured tubeless tire?
- How to quickly fix a puncture on the roadside?
So, let's dive in and master the art of puncture repair!
How to fix a puncture at home?
It's much easier to work on your bike when you have a dedicated space like a garage or workshop. Before you get started, make sure you’ve got the necessary tools. You'll need:
- A marker
- Bike repair stand
- Tire levers (2 or more)
- A bucket of clear water
- Spare inner tube or patch kit
- Patch kit pump or CO2 inflator with a CO2 canister
-
Wrenches to remove the wheel (if it’s not quick-release)

If your inner tube isn’t too badly punctured (the puncture is smaller than the patch), we suggest using a puncture repair kit. It’s environmental-friendly and budget-considered. But if the damage is too severe, you might need to replace the tube altogether.
Step 1: Remove the Wheel
Before the repair, secure the bike seat post to the repair stand. This will make it easier for you to work on your bike and get the job done faster.
The removal process can vary greatly depending on your bike’s brakes and axles.
- If your bike has quick-release wheels or rim brakes, you need to loosen the quick-release on both the front and back wheels. If you don’t have quick-release wheels, you will need a wrench or a hex key to remove the wheel.
- Before removing your rear wheel, shift into the smallest cog (the hardest gear) on your cassette. If you’re removing the back wheel, gently pull back the derailleur to release it from the chain. Then, carefully remove the wheel, ensuring the spokes are not tangled with the chain or caught on the frame.
Step 2: Remove Tire and Tube
Tube Deflation
Once you’ve removed the wheel, let the air out of the tire. Even if it had a puncture, some air that needs to come out might still be inside. It makes it easier to remove the tire from the rim.
- If there’s a dust cap, remove it.
- If you have Schrader valves (large valves similar to those on your bike), press down on the pin in the middle to release the trapped air.
- For Presta valves (long and thin valves used on road bikes), unscrew the locknut you see at the end of the valve and then press it in.
Tire Removal
- Push both sides of the tire toward the center of the rim to loosen the bead against the rim sidewall.
- Engage one tire lever under the bead of the tire. (anywhere except right at the valve) Engage a second lever 1-2′′ (25–50mm) from the first lever, then pull back and lift the bead out of the rim.
-
Take a second lever a few inches away and repeat. Continue the process until you feel the bead loose enough to run the lever across the bead.
- Tip: Be careful when scratching and digging with a carbon wheelset, as they are more delicate than aluminum ones. Take your time and dig slowly to avoid scratches or damage.
- Pull the lever to lift the next section of the bead off the rim and run it around the tire until that side is off the edge. The tire and tube are now removed from the wheel.
Inner Tube Removal
You can now remove the deflated inner tube. If you get a flat tire because of a nail, glass, or something else stuck in your tire, you have to take it out. Otherwise, you’ll get another flat tire soon after.
- Blow some air into the rubber and see where it’s broken. Or, fill up the rubber and put it in a bucket of water to find out where the air bubbles come from. If you’re outside, try using your lips to feel for the air leak.
- When you find the hole, mark it if you want to fix it. Check where it is compared to the valve to know where to look on the tire. You can also touch the inside of the tire, but be careful not to cut your fingers.
Take out any objects that are stuck in the tire. Also, look at the outside of the tire for any glass or sharp things. Don’t ride on tires that are really torn or damaged.
Step 3: Tube Repair: Patch or Replacement
Tube Repair/Patch
Select an appropriately sized patch. Make sure the patch is bigger than the puncture. To fix a puncture in a bike tire, you need to clean the area around it. You can use the sandpaper that comes with the patch kit. Or to clean by scraping a larger area than the patch you will use.
-
Glue-on patch kit/Vulcanizing patch:
To patch a tube, apply a generous drop of glue to the affected area and spread it across a slightly larger area than the patch you intend to use. Allow it to dry before peeling off the foil backing and applying the patch to the tube. Then, make sure to apply pressure around the edges. Do not test the patch by inflating the tube outside the tire, as this can weaken the bond. Leave the clear plastic cover on the patch for a minute or two to reduce friction and rubbing. Finally, inspect the bond of the patch to the tube surface to ensure it has adhered properly.
2.Pre-glued patches:
If you’re using glueless patches, you can apply them directly after cleaning. Thoroughly press down on the patch to ensure it’s entirely in contact with the tube.
Tube Replacement
We always suggest you replace a severely punctured tire instead of patching it, as it could burst and cause an accident.
Step 4: Install the Tube
Tube Inflate
Whether replacing the tube or reusing a repaired one, it’s time to put it in place.
- Start by inserting the valve. If you’re using a Presta valve, use the supplied nut to hold it gently in place.
- Then, start tucking the tube back inside the tire, starting near the valve and going around the tire.
Tubes without air can be flappy and challenging to manage. Adding a small amount of air to the tube can make it easier to slot into place.
Install the Tube
- Starting near the valve, tuck your tire’s bead back onto the rim. Ensure none of the inner tubes are trapped between the tire bead and the rim because this can cause another puncture.
- Then, use your thumbs to push the rest of the tire back onto the wheel all the way around.
- If it’s too hard to do with just your hands, you can use tire levers to help.
Step 5: Install Wheel
Now, it’s time to inflate your tires. While pumping air, ensure the tire sits properly on the rim.
Once it’s in place, pump air until you reach the recommended pressure. You can use a CO2 inflator, but be careful not to freeze your fingers!
Once your tire is fully inflated, put the wheel back on your bike. Tighten the quick-release skewer or bolts and the quick-release on your brake too. Spin the wheel to ensure it’s in place, and check your brakes before you start riding.
How to fix a punctured tubeless tire?
Now you understand how to fix punctures in clinchers. How about a tubeless one?
Some of your friends may tell you there is zero possibility of a punctured tubeless tire. Well, the fact is, you can never guarantee against a flat tire. The sealant instantly patches some punctures, even before you notice them. So yes, it’s much less common, but it does happen.
Repairing tubeless tires instead of replacing them can be a cost-effective option for many people. Fortunately, there are several ways to fix this issue, such as using a repair plug, a tubeless tire sealant, or a TB-2 from Park Tool.

In this guide, we’ll show you how to use tubeless tire sealant to fix your flat tire. You will need the following tools:
- Gloves
- Valve core tool
- Tubeless tire sealant
- Sealant injector tool
Removal
Remove your Presta or Schrader core with a valve core tool to inject your tire sealant. This enables you to add your new sealant immediately without any additional tools. Next, shake your sealant to ensure it’s well mixed, and remove any old sealant if needed.
Injection
Place the extended hose nozzle in your tire sealant bottle with an empty injector tool. Corki Cycles sealant injector tool can be a wise choice. Since it’s compatible with the most common brands in the market: Stan’s No Tube, Muc-Off No Puncture, Orange Sealant, Finish Line Tubeless, and Slime. Withdraw the recommended quantity of sealant for your tireless set-up. Next, place the long nozzle inside the tire valve and insert fresh sealant into your tire.
Note: 2 ounces is good for a sealant refresh. Four ounces may be necessary for a new tire. Sometimes people use too little and then wonder why it doesn’t work. So it’s important to be generous with it when you use it.
Reinsertion
Reinsert your Presta or Schrader valve core. Shake, bounce, and rotate the tire to ensure the sealant applies evenly across the tire. The sealant will automatically fix all the punctures on the tire.
Tip: Always clean the insert tool extended hose and leave it to dry, ready for the next time.
The sealant can only fix limited punctures. If it doesn’t work, you can try using a plug. While it is possible to sew larger punctures, this is a short-term, temporary fix. We suggest replacing your tire for any punctures that a plug or puncture patch can’t repair.
How to quickly fix a puncture on the roadside?
If you're at home or have your puncture kit, fixing a tire puncture is not a problem for you now. However, if you're commuting and experience a puncture, the situation can be challenging. That's why we'll also share some hacks to help you fix your bike when you're far from home with just your bike. We'll ensure that you can safely make it back home within the last 20 kilometers.
No spare tube or patches? Tie a knot.
If you don’t have a repair patch or spare inner tube, there is still a way to temporarily fix a punctured inner tube by making a knot around the hole:
- Once you have located the puncture, release the rest of the air from the inner tube by pressing the valve down and turning it.
- Pinch the tube tightly on either side of the punctured area, leaving as little margin as possible.
- Tie a knot in the inner tube, isolating the punctured area. Make sure the knot is tight. This will ensure that as little air as possible can escape and give you more slack when you come to replace your inner tube.
- Pump the inner tube slightly to ensure no air escapes once you’re satisfied that the knot is airtight.
- Replace the inner tube entirely. Since the knot makes a smaller inner tube, it may take some force. A tire lever could help you keep the tube’s entire back in place. Then, massage the knot in the tube slightly to settle it and avoid a pinch against the rim of the wheel.
- Pump your tire back up to a safe pressure lower than recommended, replace it, and check that the knot is holding the air inside.
While the hack can get you home or to a bike shop, it’s important to ride cautiously and avoid any bumps or obstacles that could cause the knot to come undone.
For a punctured tire, one buck can help!
If your inner tube is punctured, there's a possibility of your tire being damaged as well. A damaged tire can be very risky, as the inner tube can burst out at any time, and even a small 1-inch puncture can ruin the tire entirely.
However, we have a solution for you, and you don't need to use a repair boost. All you need is a single buck, and we'll show you how to fix it.
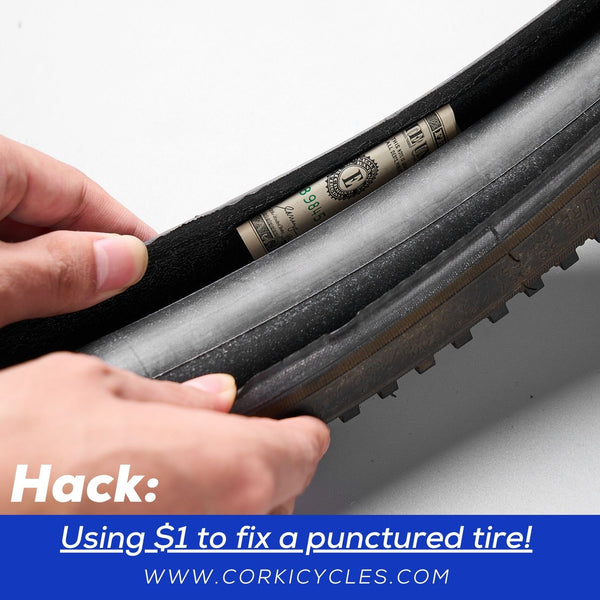
- Make sure it’s folded up to the correct size to cover the hole in the tire.
- When mounting the tire, make sure to place it inside securely so it doesn’t move around. This will ensure it stays in place once the tire is installed.
- Pump your tire back up to a safe pressure, slightly lower than recommended. And check the dollar bill is firmly in place. If it’s not, fold it up again and try again.
Remember that this is only a temporary fix, and you should replace or properly repair the inner tube as soon as possible.
FAQs
Are you still unsure? We are here to answer some commonly asked questions about fixing a puncture on a bike.
Is it OK to ride a bike with a puncture?
Yes, you can ride the bike with a slow puncture or a flat tire, but doing so will damage both the rim and tire and increase the risk of slipping. It’s best to address the slow puncture as soon as you notice it, as it serves as an early warning to fix the issue.
Is it worth patching a puncture?
Repair kits are a cost-effective, convenient, and eco-friendly solution for smaller punctures. In situations where it is challenging to find a replacement tube, they are also practical. However, larger or more severe punctures may require spare tubes or a complete replacement for safety.
How many times can you repair a puncture?
You can conduct as many repairs as needed on a tire as long as the patches for puncture repairs don’t overlap.
Conclusion
With the right knowledge, basic skills, and some creative hacks, fixing a flat tire can be quicker and easier than you think. Flat tires often happen when you least expect them. But now you know some tricks to help you fix a flat tire without enough tools. So, the next time you encounter a flat tire, you’ll know what to do to get home safely—or even keep riding!