


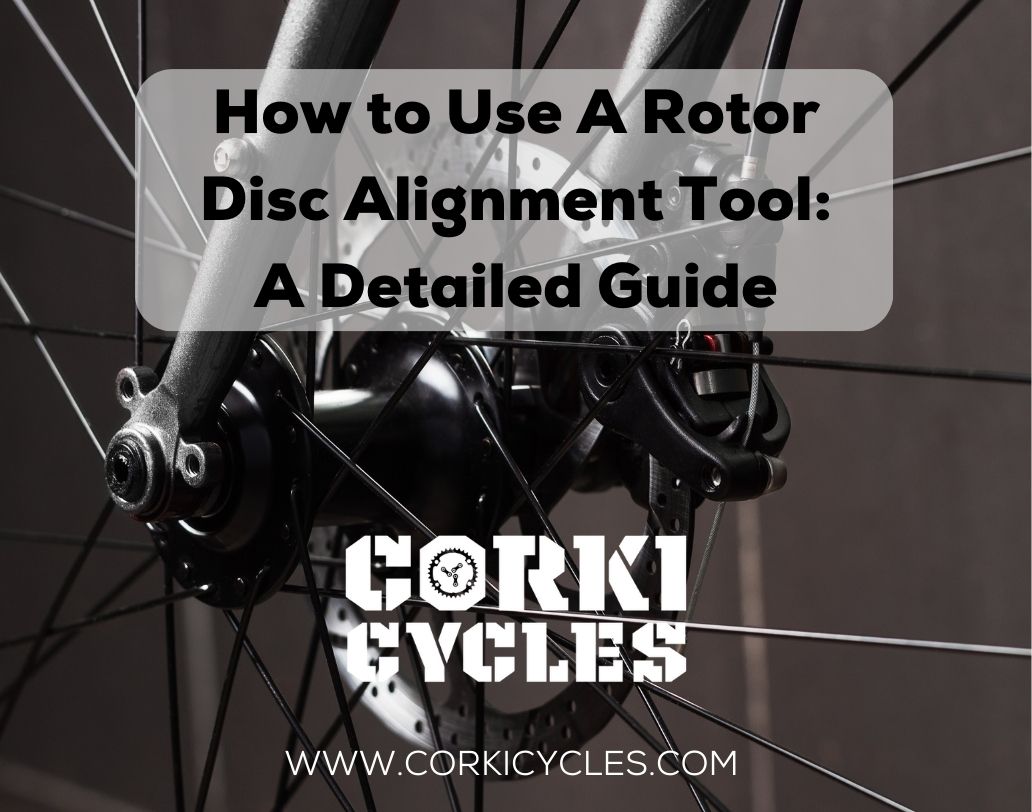
How to Use A Rotor Disc Alignment Tool: A Detailed Guide
Have you ever experienced brake pads that squeal or wear unevenly? This is a common problem that many riders face, and it's often caused by the misalignment of rotor discs. If rotor discs are not correctly aligned, disc brake pads can't make even contact with the surface of the rotor. Leading to uneven wear and tear and decreased performance.
Fortunately, there is a solution to this problem. A rotor disc alignment tool. Also known as a disc brake pad gap regulator.
Using this tool will let you quickly ensure that your rotor discs are correctly aligned. Meaning more reliable braking performance!
In this article we'll cover:
- How to align brake rotors with a rotor disc alignment tool?
- Why do you need a disc brake alignment tool?
- Conclusion
How to align brake rotors with a rotor disc alignment tool? The step-by-step guide
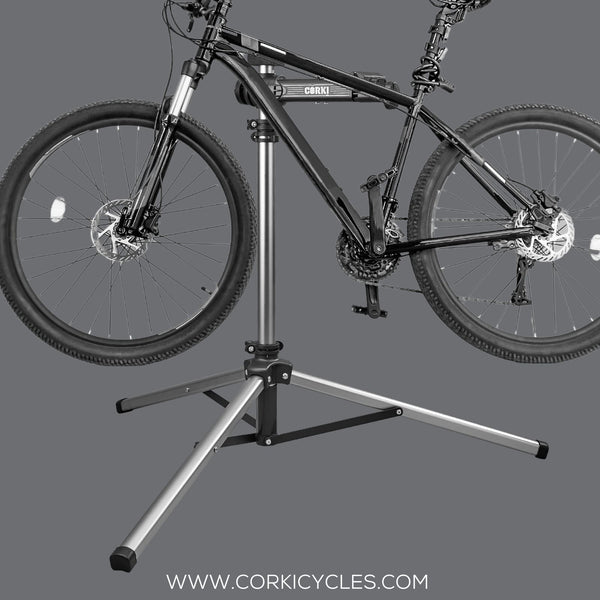
Step 1: Put your bike on a repair stand
A bike repair stand is always the best place to work on your bike. When working on your brakes, having the bike on a stand allows you to spin the wheels freely. A good line of sight through the caliper is essential for properly aligning your brake calipers. Having your bike in the stand accomplishes this. You can also flip your bike upside down if you don't have a repair stand.
Step 2: Diagnosis/Preparation
Misalignment of the brake pad with the rotor is the main reason for noisy sounds. However, the loud sounds can also be caused by a bent rotor. So you should make sure your rotor is straightened first. When the rotor is slightly bent, it can occasionally be challenging to center the caliper without straightening it. A rotor can be slightly dented at the smallest impact especially if you are pushing your riding capabilities.
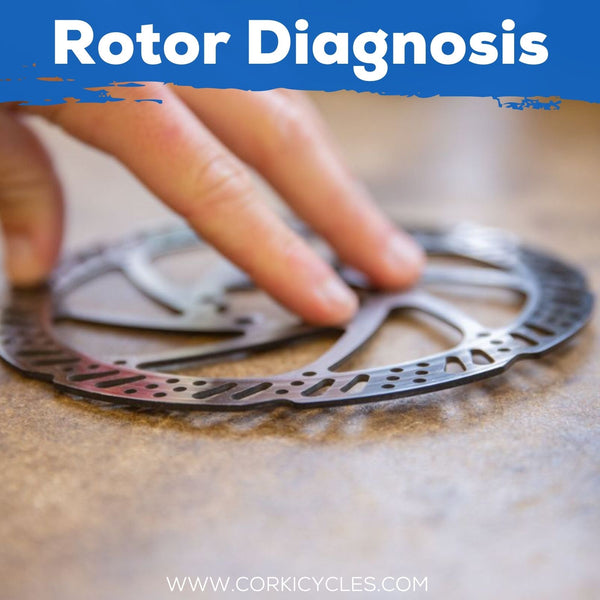
If you have crashed and bent your rotor so severely that the wheel won't even spin through the caliper, your best bet is to start by getting a new rotor. Moreover, make sure your wheel is seated correctly. This step is relevant for bike brake performance. You can achieve this step by loosening the quick-release lever and then re-tightening the quick-release lever.
Step 3: Loosen the brake caliper bolts
Before using the alignment tool, you should loosen the caliper bolts using an Allen wrench. Then, with the brake caliper bolts loosened slightly, you are able to move the caliper by hand for realignment. Also, cleaning the brake caliper to keep dirt and gravel out of the interior can assist in ensuring a well aligned rotor.
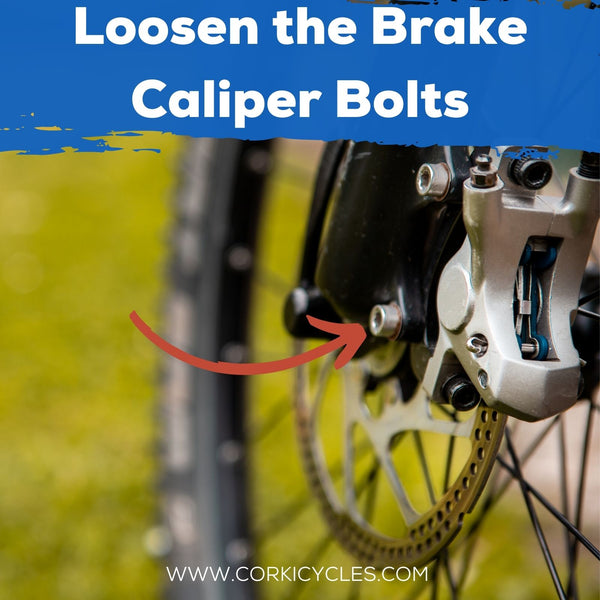
At the same time, you can determine whether a new brake pad needs to be replaced according to the wear degree of the brake pad. In many cases, you can still determine whether the pads wear out with the thickness of the brake pad. Still, for more information, you can see our blog on “How to Replace Disc Brake Pads on a Mountain Bike?”
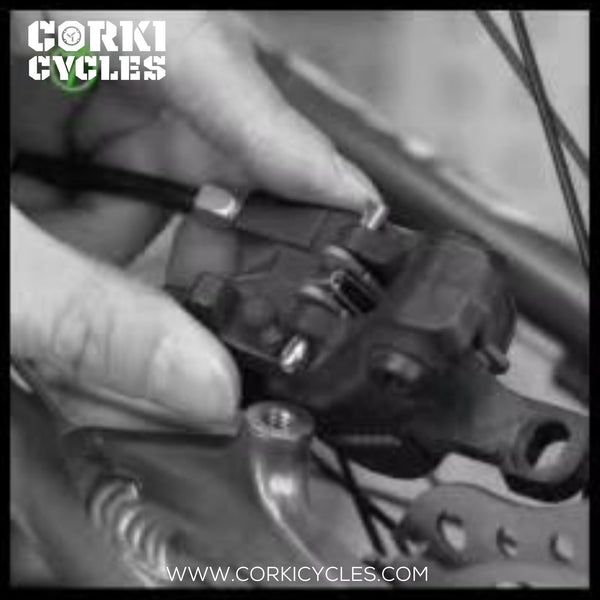
Step 4: Put the brake alignment tool on the rotor
After removing the brake caliper bolts, it is time to put the brake alignment tool on the rotor. Above or below the caliper is perfect. Then, you will have to recenter the brake caliper on the rotor so that the wheel and rotor are spinning freely. Spin your wheel slowly till the alignment tool is positioned between your brake pads. Using this tool, a specific amount of room is left on either side of the rotor to make sure the pads and rotor are aligned correctly.
Step 5: Squeeze the brake lever to center the caliper
Now that everything is set up and ready to go, it's time to squeeze the relevant brake lever. Continue to hold that lever as you tighten the caliper bolts down evenly. A torque wrench is perfect for this even tightening. From here, you can see whether the pads are perfectly centered. After altering check again the rotor and pad positioning with the use of the alignment tool.
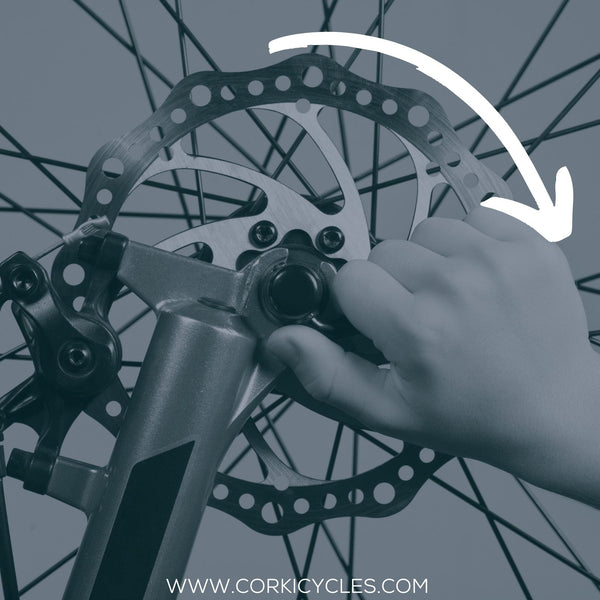
Step 6: Take out the rotor disc alignment tool
After aligning the pad and rotor, turn your bike rotor counterclockwise until you see the tool. Then, remove the rotor disc alignment tool and see if the rotor is rubbing. And voila your rotor is now aligned correctly.
Why do you need a disc brake alignment tool?
Reduce uneven brake pad wear:
If the brake rotor is not properly aligned with the brake pads, it can cause the brake pads to wear unevenly. This can lead to reduced braking performance, noise, and vibration. However, if you use a special tool to align your disc brakes, you will solve this problem.
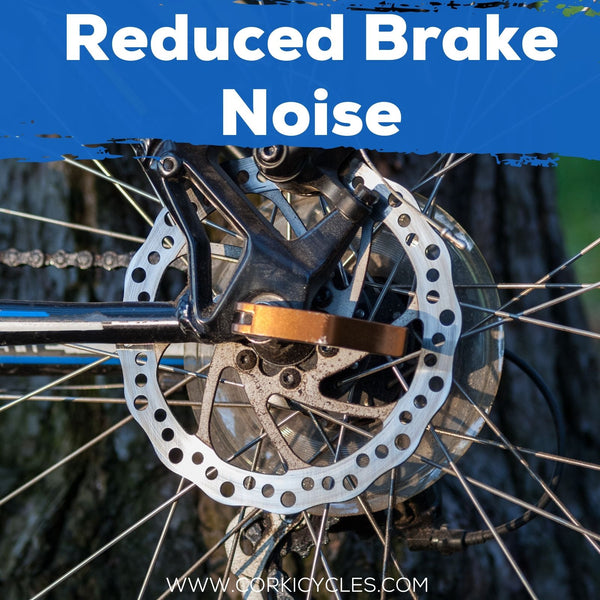
Reduced brake noise:
It is a common occurrence that your brake pads make noise. Any impact while riding can cause the pads to rub or the rotor to make that awful sound. But with a simple alignment tool, you can reduce the brake noise by adjusting the positioning of your disc brake pads and rotor at home or during riding after an impact.
Improved braking performance:
An alignment tool helps to ensure that the brake rotor is properly aligned and centered. If the brake pads are not aligned with the rotor, it will cause the brake system to slow down overall performance. For example, you will feel the brake lever might be a bit spongey when you're pulling the lever almost against the handlebar to stop. It could be a sign that your rotors are rubbing.
Longer brake life:
When the brake rotor and pads are properly aligned, they will experience less wear and tear. If the brake rotor is not correctly aligned, it can cause the rotor to become warped after use over time. Furthermore, misalignment may also make brake pads unevenly wear.
Easier brake maintenance:
If the brake rotor is not properly aligned, removing and replacing the brake pads from the caliper can be difficult. This can make brake maintenance more difficult and time-consuming. But if you have an alignment tool, it will become easier. And make brake pad replacement more manageable and efficient.
Conclusion
Using a reliable caliper alignment tool is essential. By following the steps in this article, you have all the knowledge to use a rotor disc alignment tool at home or on the trails.
Here are some common questions you may encounter when adjusting your disc brake pads or rotor. We hope these answers can help you out and make your bike maintenance a breeze!
How to Use a Rotor Disc Alignment Tool: FAQ
1. Do I need to loosen the caliper and then insert the tool in?
Yes, you need to loosen the caliper and then, insert the disc brake alignment tool.
2. Do I need to squeeze the brakes to test alignment?
Yes, when you put the rotor disc alignment tool on both sides of the rotor between brake pads. You should squeeze the brake lever 4-5 times. Then, tighten the caliper bolts as needed.
3. Is this truly just for hydraulic disc brakes, or will it work for mechanical disc brakes too?
The Corki Cycles disc brake pad and rotor alignment tool are compatible with all disc rotors and brake pads regardless of mechanical disc brakes or hydraulic disc brakes.
If you have any comments or questions, please leave them below. Happy Cycling!!!
Related articles recommended:
How to Replace Disc Brake Pads on a Mountain Bike?